Integration Guide
Overview
This guide will walk you through the process of integrating Gateway into your application. You can follow the steps below to get started.
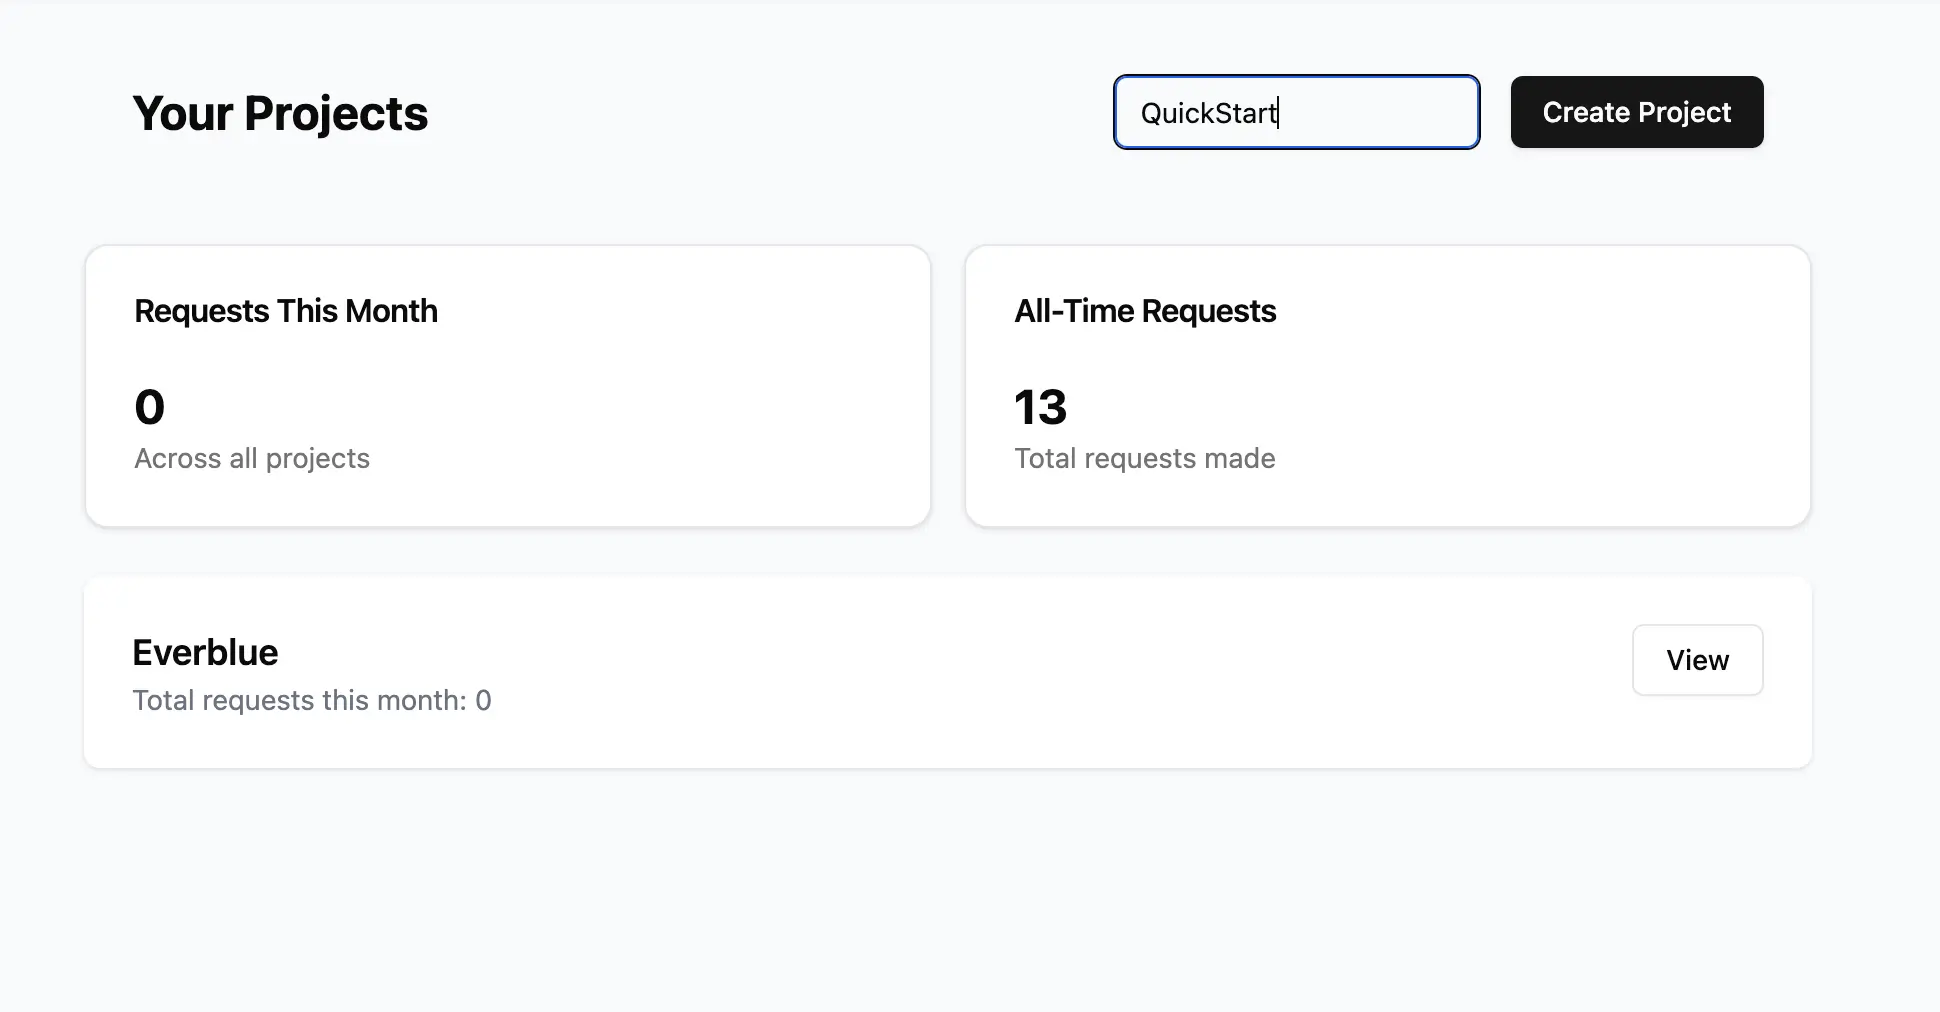
Step 1: Create a New Project
- Log in or sign up on the Gateway dashboard
- Create your first project and give it a name
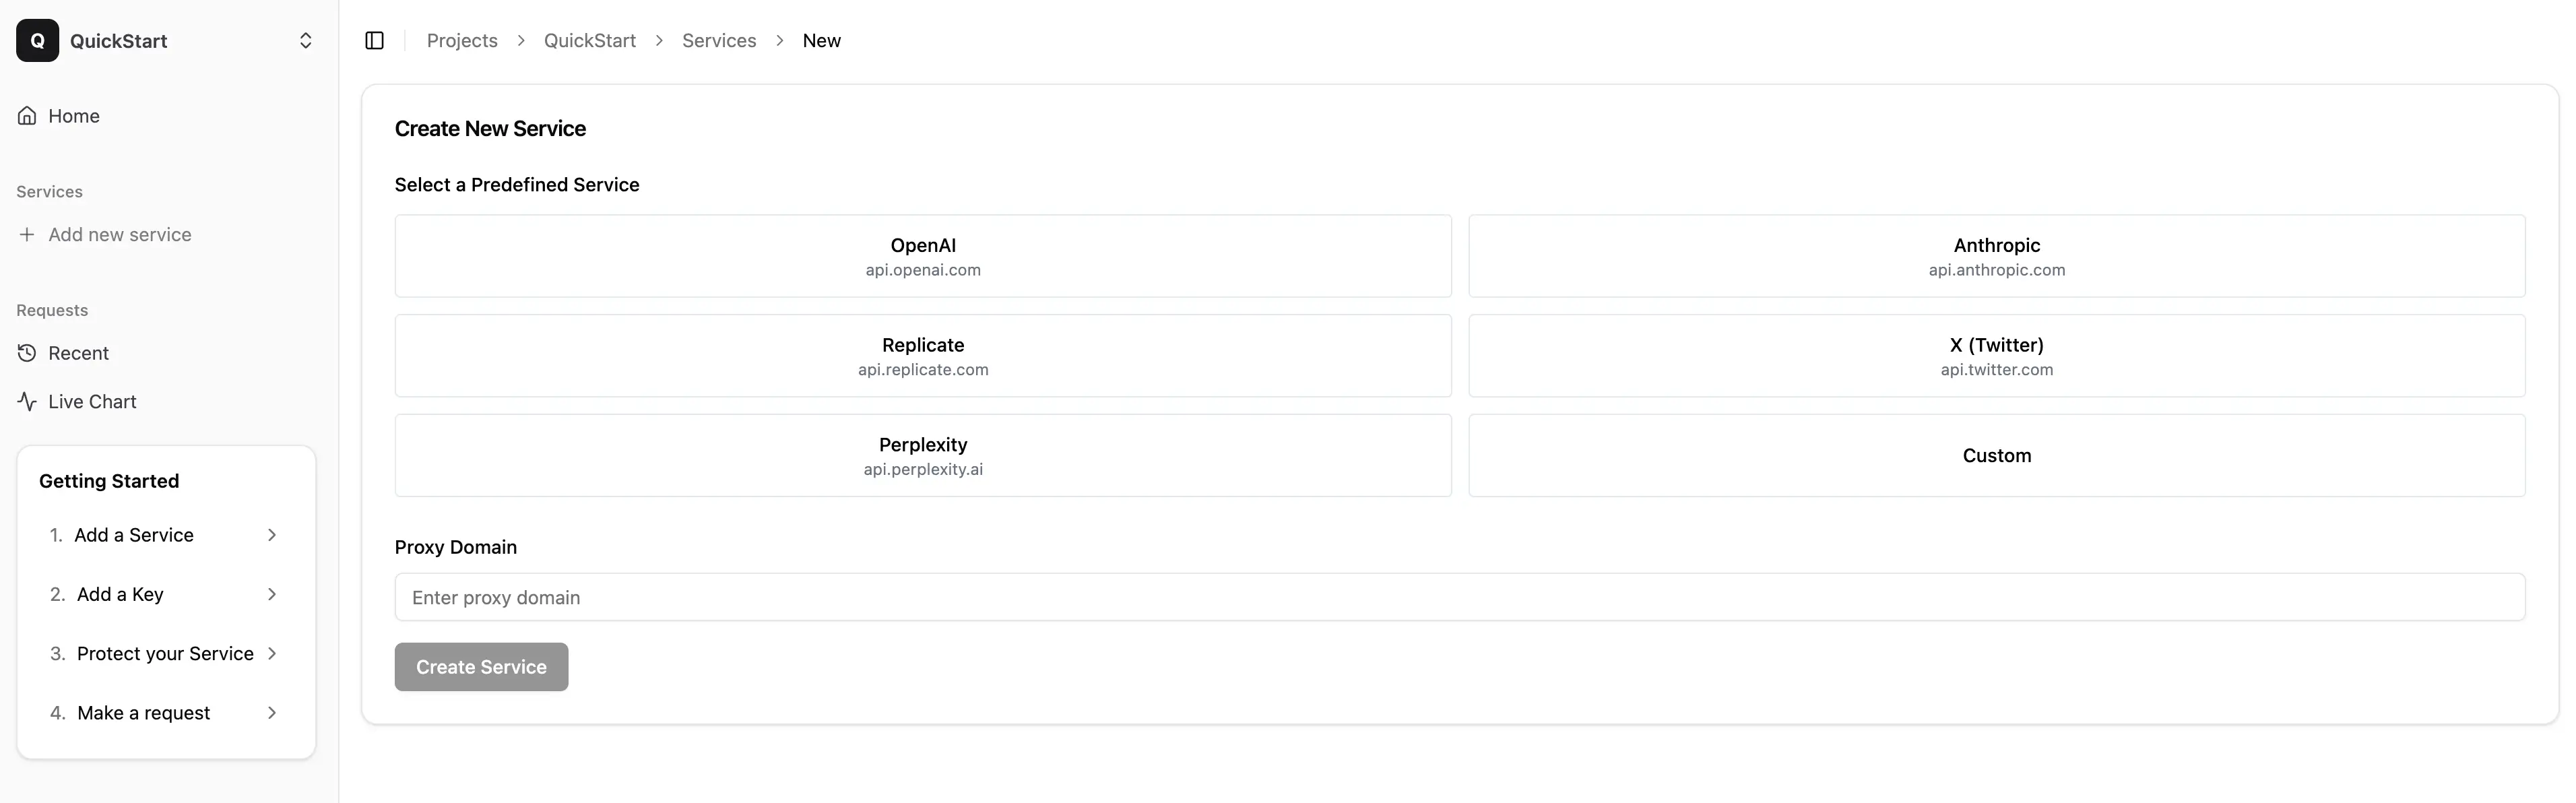
Step 2: Add a Service
In Gateway, we refer to APIs as "Services". To add a new service:
- Navigate to the Services tab in the sidebar
- Click "Add new service"
- Provide the base domain you want to proxy (e.g., api.openai.com) or choose from the list of pre-configured services
Note: Ensure your service account is up to date. If you've exceeded your usage limit, you'll see a 429 error in the Gateway Live Console.
Step 3: Generate a New Key
- Navigate to the "API keys" tab from the service page
- Enter a name and your Service Provider API key
- Click "Create key"
- Copy the key to your clipboard and save it in a secure location (it will not be shown again)
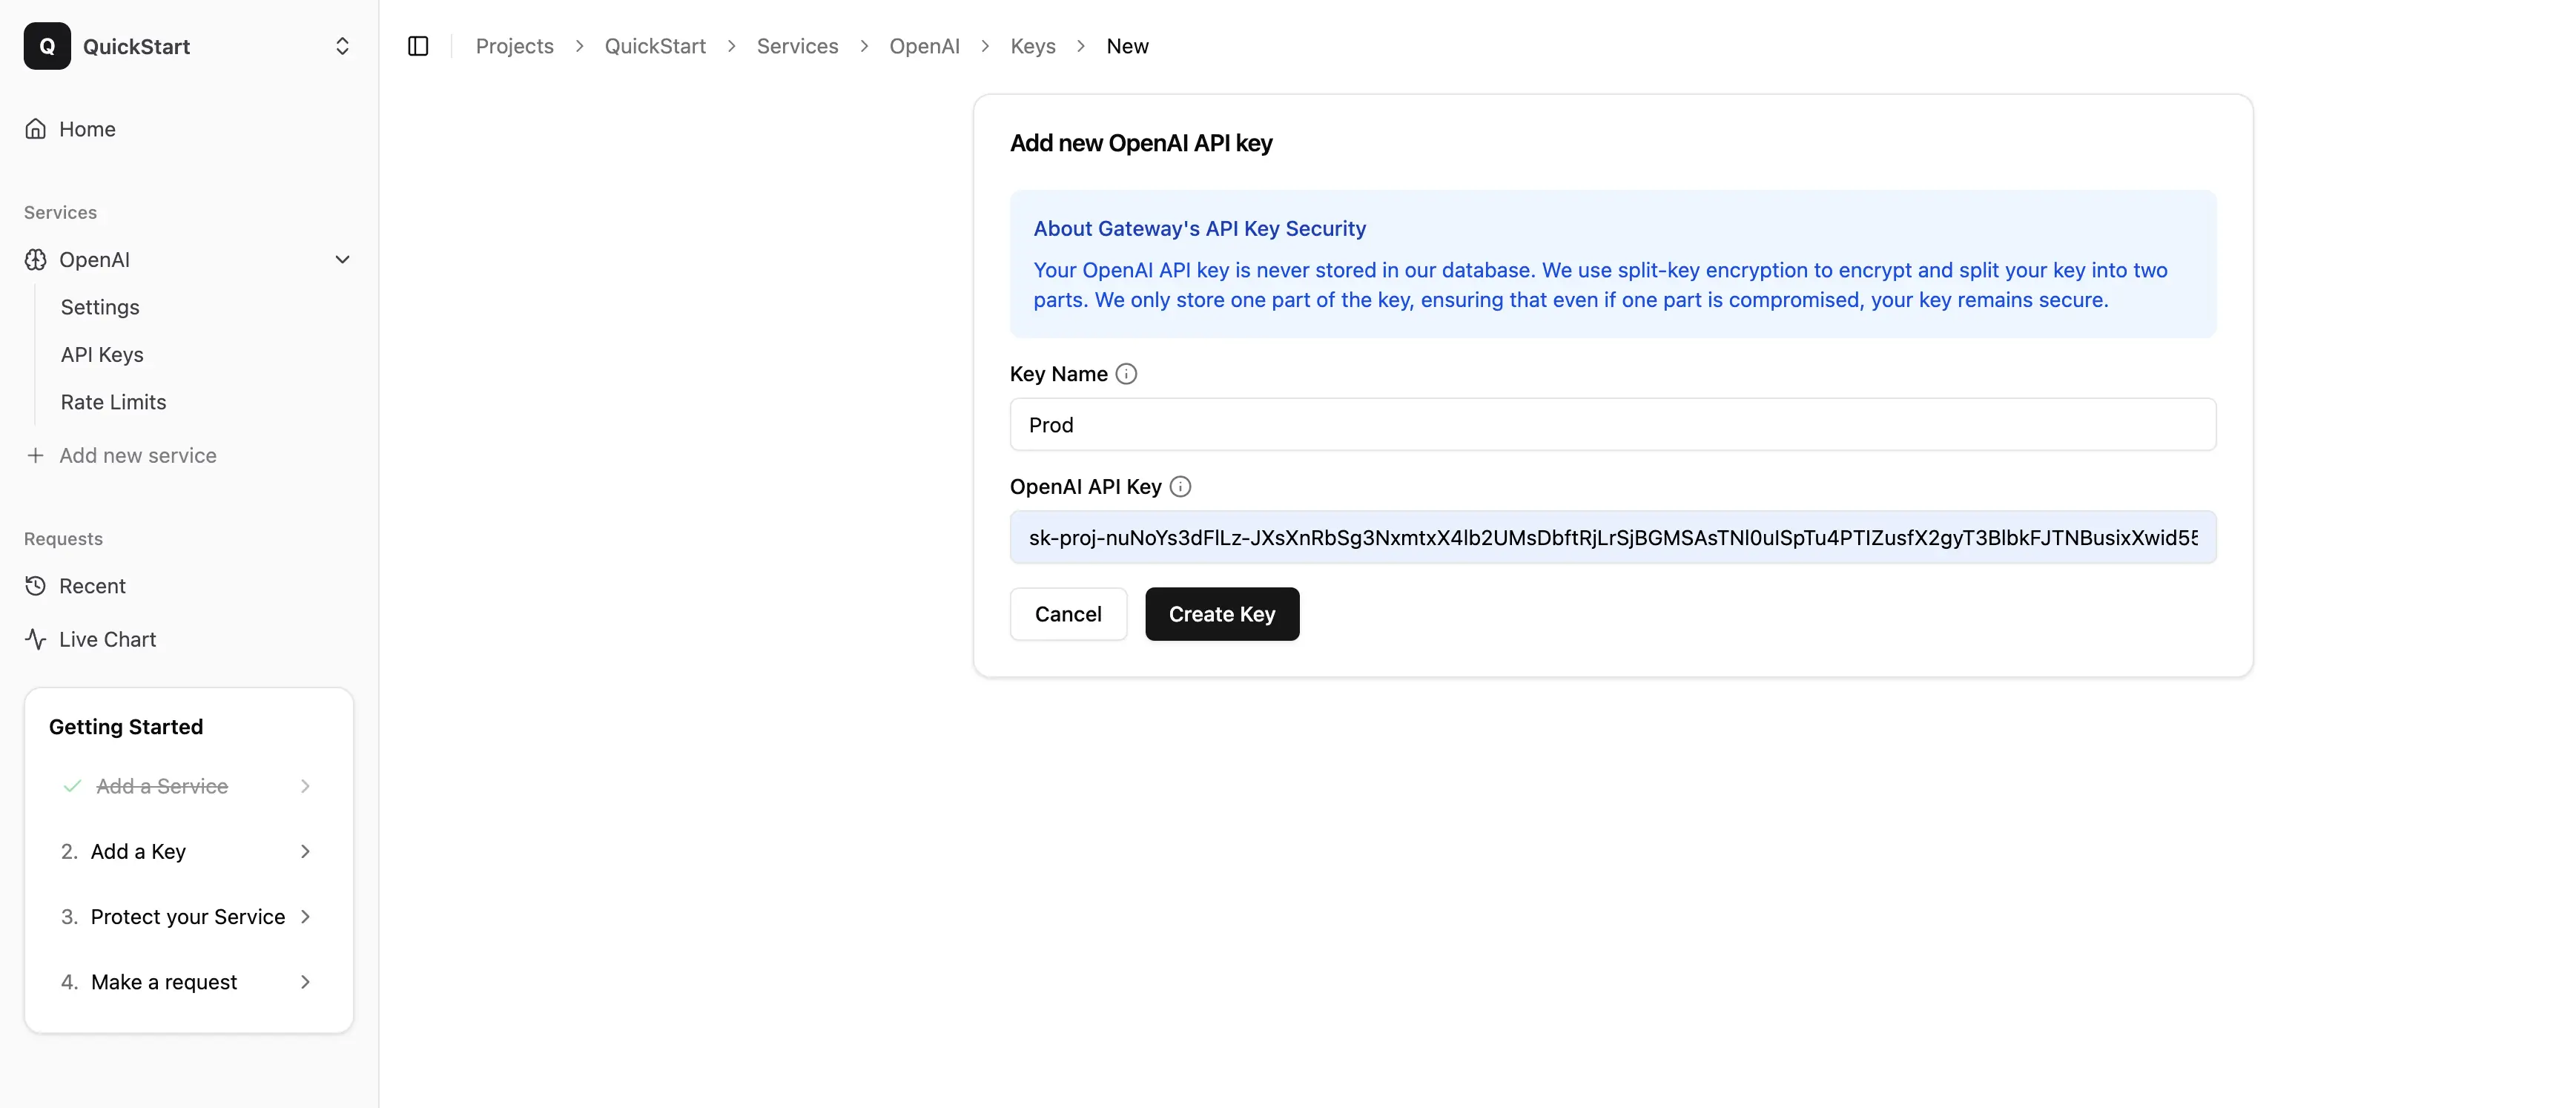
Important: Use a fresh, uncompromised key. Do not use keys that have previously been exposed in production versions of your app.
Step 4: Configure IP Rate Limiting
To protect your API from abuse, it's recommended to set up IP rate limiting rules:
- Go to the "Rate Limiting" section in your project settings
- Click "Add New Rule"
- Configure the following parameters:
- Number of maximum requests
- Time window
- Save the rule
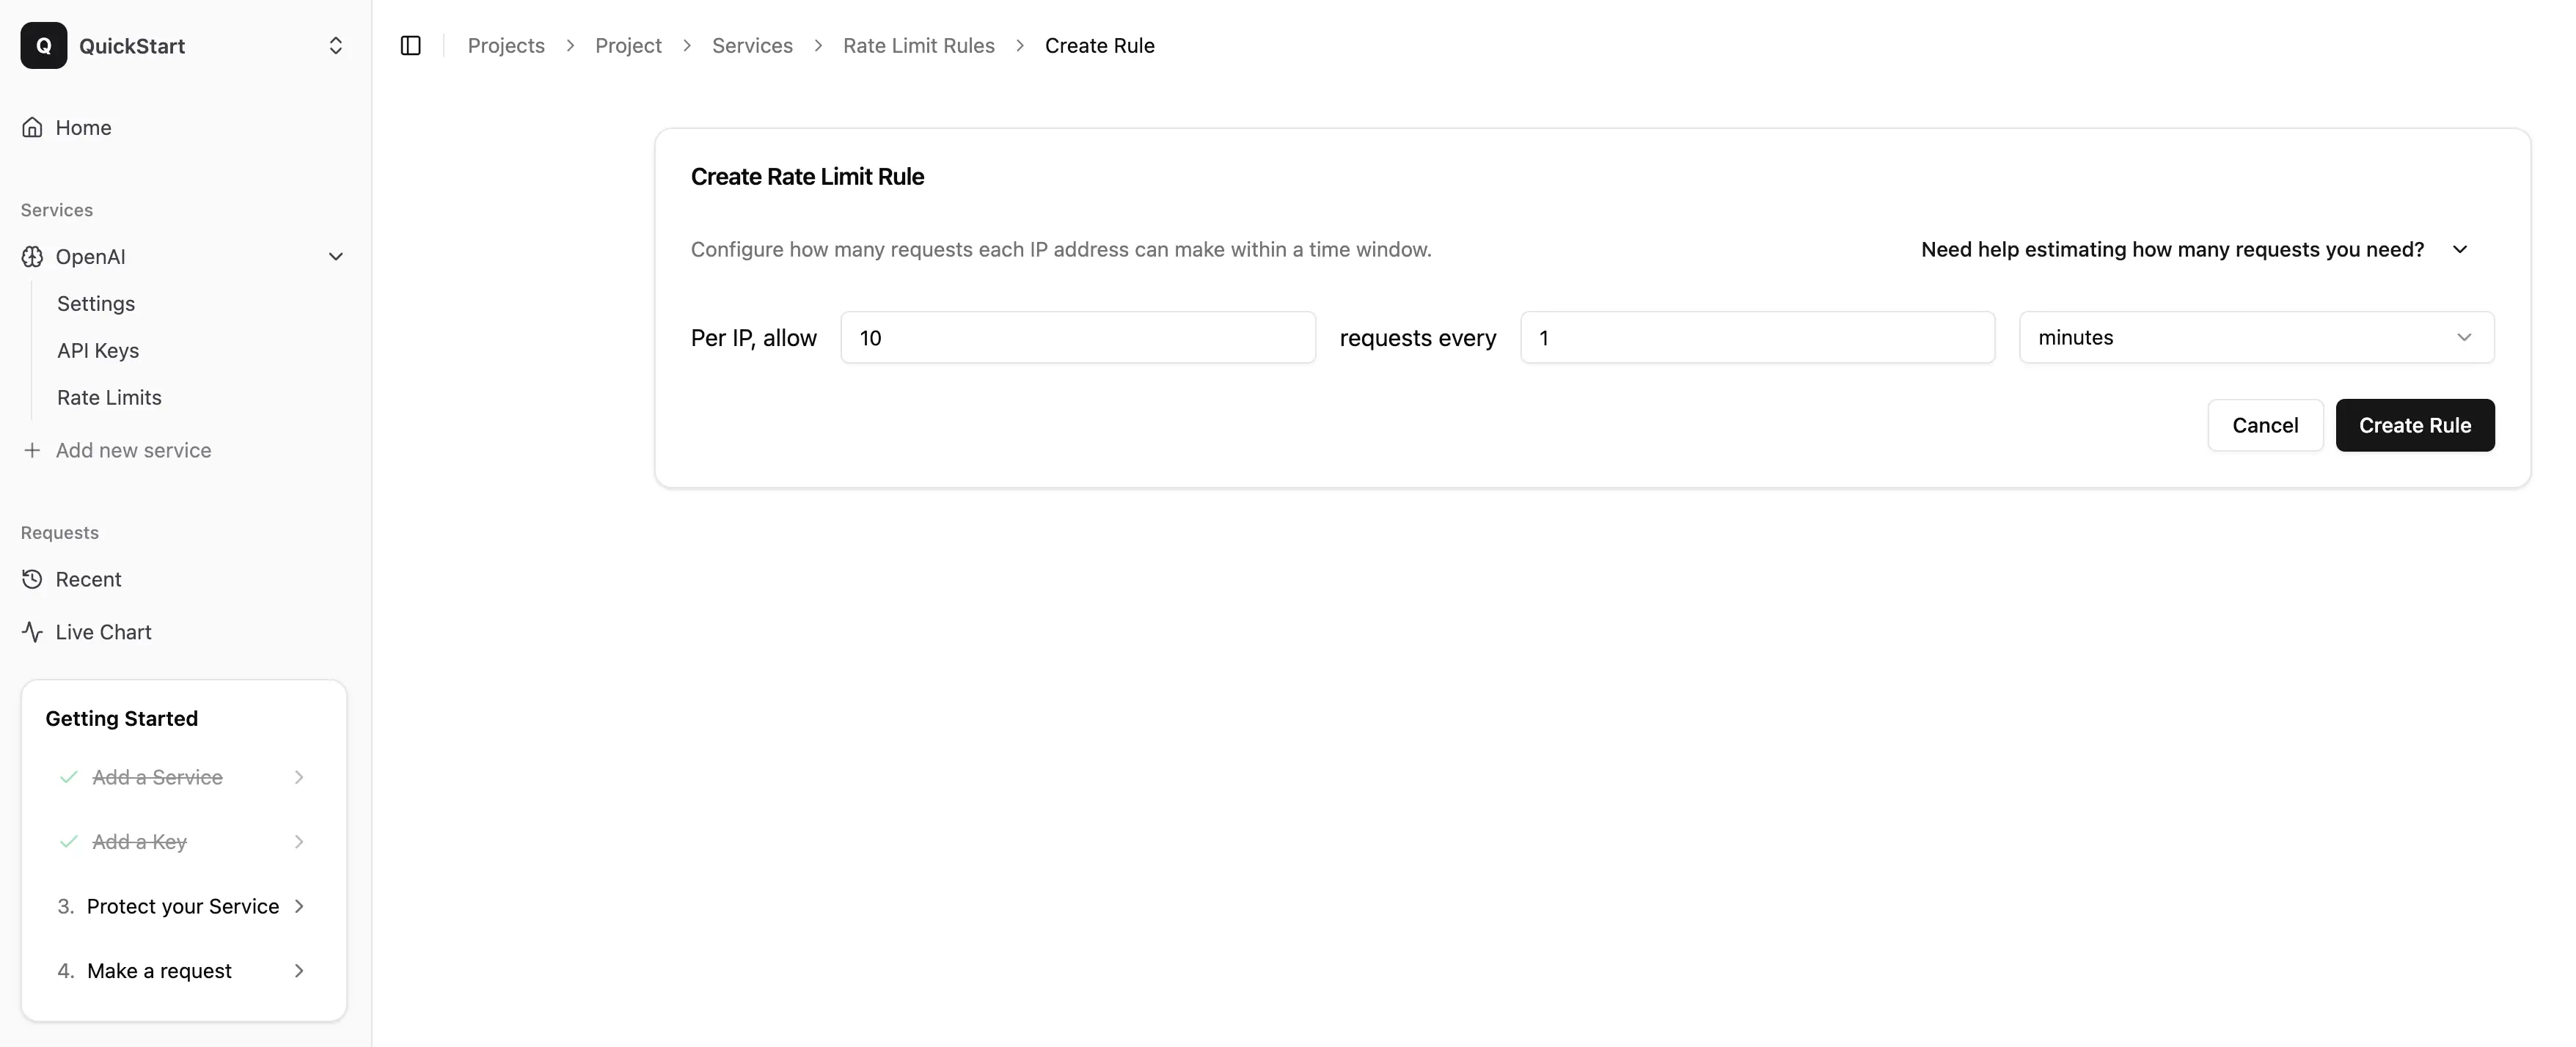
Tip: Start with conservative limits and adjust based on your application's needs. You can always modify these rules later.
Step 5: Set Up Device Attestation
To further secure your API, enable device attestation for your service:
- Go to the "Device Attestation" section in your service settings on the Gateway dashboard
- Follow the instructions to enable device attestation for supported platforms (Android/iOS)
- Download and integrate the attestation SDK or follow the provided integration steps
- Save your configuration
Note: Device attestation ensures that only genuine, untampered devices can access your protected APIs, adding an extra layer of security.
Step 6: Add Gateway to Your App
You have two options for integrating Gateway into your application:
Option A: Use the Gateway SDK (Recommended)
The Gateway SDK provides native Android and Kotlin Multiplatform support with built-in security features like device attestation, API key protection, and certificate pinning.
-
Add the Gateway SDK dependency to your project:
For Kotlin Multiplatform (KMP) projects, add to your
commonMaindependencies:commonMain.dependencies {
implementation("io.github.brahyam:gateway-client:0.2.0")
}For Android-only projects, add to your
build.gradle:dependencies {
implementation("io.github.brahyam:gateway-client:0.2.0")
} -
Configure Gateway early in your code:
import io.github.brahyam.gateway.client.Gateway

Gateway.configure(
    googleCloudProjectNumber = YOUR_GCP_PROJECT_NUMBER
) -
Create a service instance using your Gateway credentials:
val openAIService = Gateway.createOpenAIService(
    partialKey = "your-partial-key", // From Gateway dashboard
    serviceURL = "your-service-url"   // From Gateway dashboard
) -
Make API requests with built-in security:
val response = openAIService.chatCompletion(
    request = ChatCompletionRequest(
        model = ModelId("gpt-4o-mini"),
        messages = listOf(
            ChatMessage(role = Role.User, content = "Hello, how are you?")
        )
    )
)
Option B: Use Your Existing SDK
If you prefer to keep using your current SDK, simply update your configuration to route through Gateway:
When using your existing SDK instead of the Gateway SDK, device attestation will not be available. This means you'll lose the security benefits of verifying that requests come from genuine, untampered devices. For maximum security, we recommend using the Gateway SDK (Option A).
- With your Service endpoint and API key in hand, go to your app's codebase
- Find the file where you configure/make your API calls
- Replace the original Service API endpoint with the Gateway endpoint
- Replace the original Service API key with the Gateway API key
Step 7: Test Your Integration
With the above steps completed, you're ready to test your API calls through Gateway. The best way to verify your integration is:
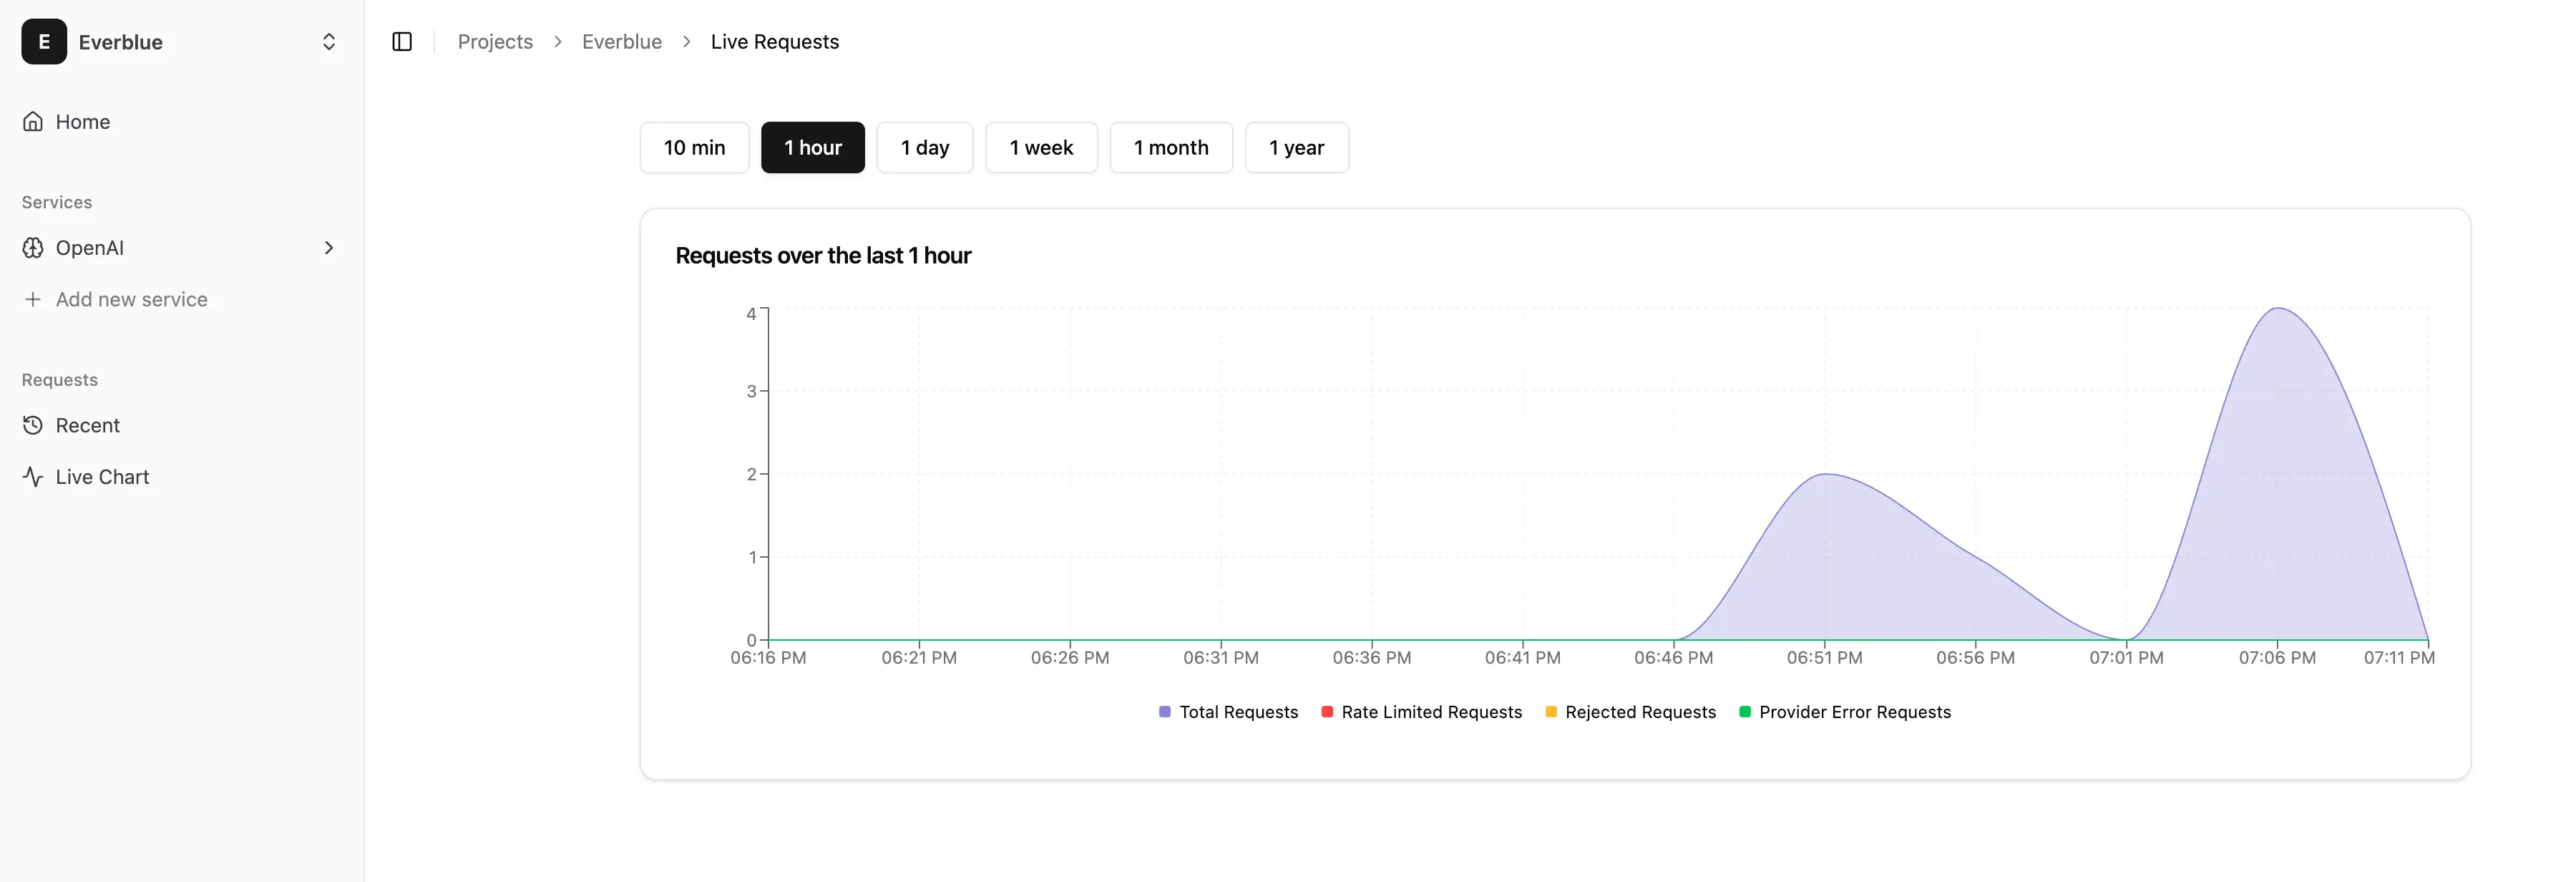
- Open the Live Charts in the Gateway dashboard
- Make a test request
- View the responses in the console
If you encounter any issues, please refer to our troubleshooting documentation or contact support for assistance.